
Edit your shop's e-mail templates
See every e-mail your shop sends, switch optional e-mails off, reword an e-mail in each language, preview and test it, and add your logo.
In the admin: SettingsE-mails
On this page
Your shop sends e-mails on its own: an order confirmation when someone buys, a shipping notice when you send the parcel, a link when a customer forgets their password. The E-mails screen lists every one of them. Here you decide which optional e-mails go out, change their wording in each language, and put your logo at the top.
The e-mails go out from your own mail account. If you have not connected one yet, do that first: see Connect your mail account.
The list of e-mails
Go to Settings and open E-mails. The e-mails are grouped by who gets them.
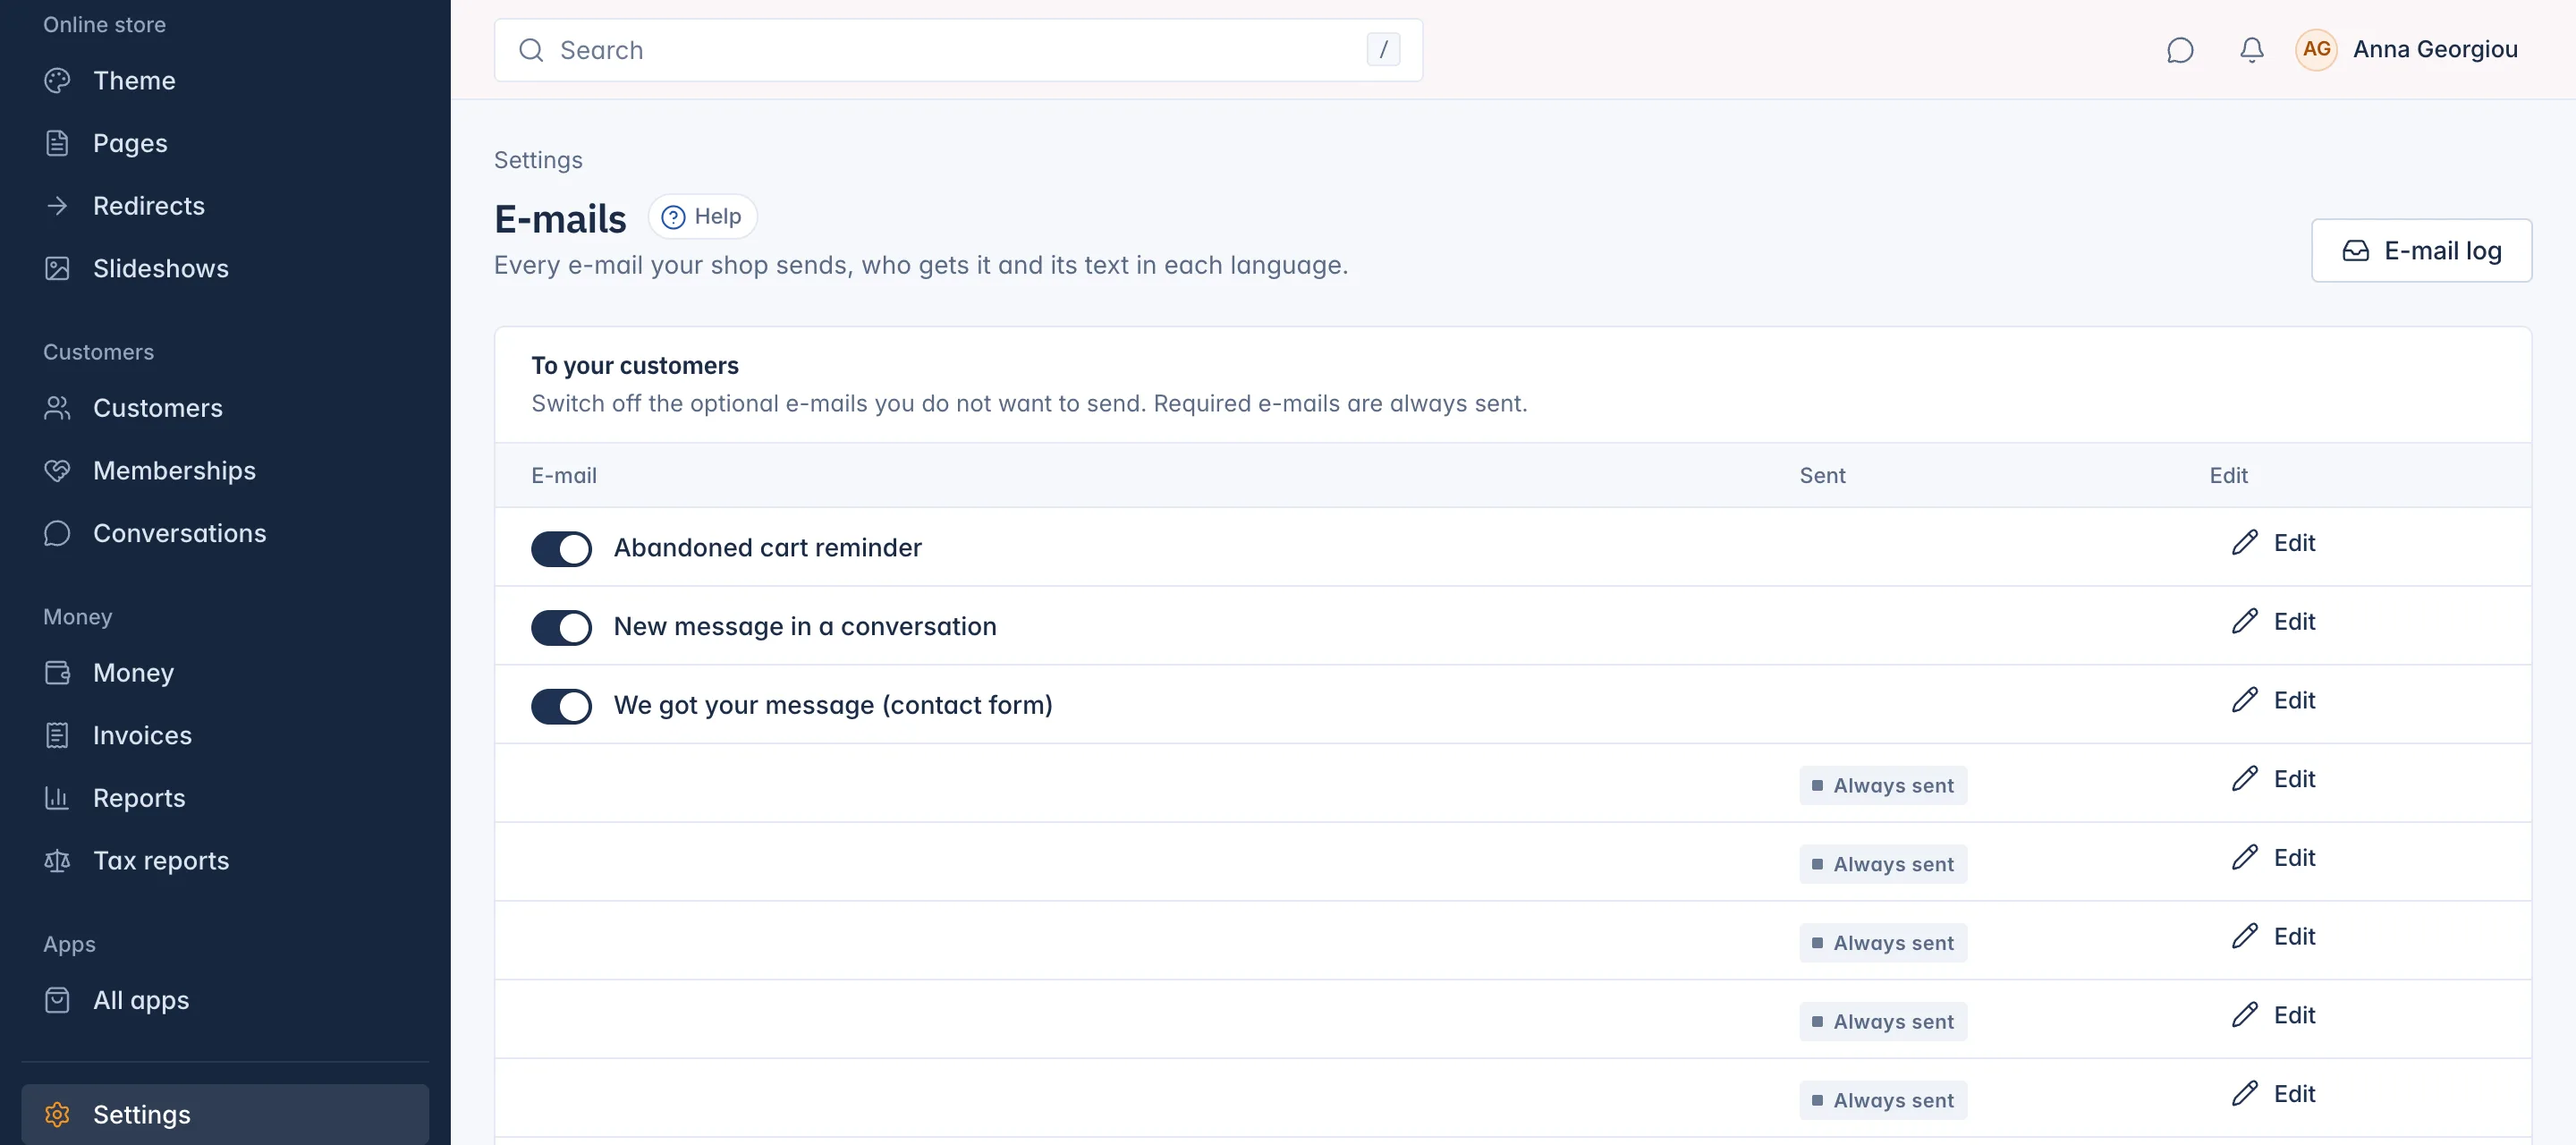
- To your customers: e-mails to shoppers. Required e-mails, such as the order confirmation, the payment receipt or a password reset, show Always sent: customers need them, so they cannot be switched off. Optional e-mails have a switch in front of their name.
- To your staff: notices to your team. These show Each person chooses: every staff member picks which of them they get on Your notifications (see Your profile and notifications).
The optional customer e-mails include the abandoned cart reminder, the conversation message notice, the contact form receipt, the shipping and delivery updates (Order shipped, Order out for delivery, Order delivered, Problem with a delivery), Payment reminder (three days after the order), Order ready for pickup, Order completed, the wishlist alert and the membership and subscription notices. They are all on by default except Order completed. An app can add its own, for example the review request of the Product reviews app.
Switch an optional e-mail on or off
- Move the switch in front of the e-mail's name.
- Press Save under the list.
The admin confirms which e-mails are sent from now on.
Change the wording of an e-mail
- Press Edit on the e-mail's row. The editor opens on your main language.
- To edit another language, choose its tab at the top. Each language has its own text.
- Change the Subject and the Text.
- Press Preview to see the e-mail filled in with sample data, both as the e-mail and as plain text.
- Press Send a test to me to get it in your own inbox.
- Press Save.
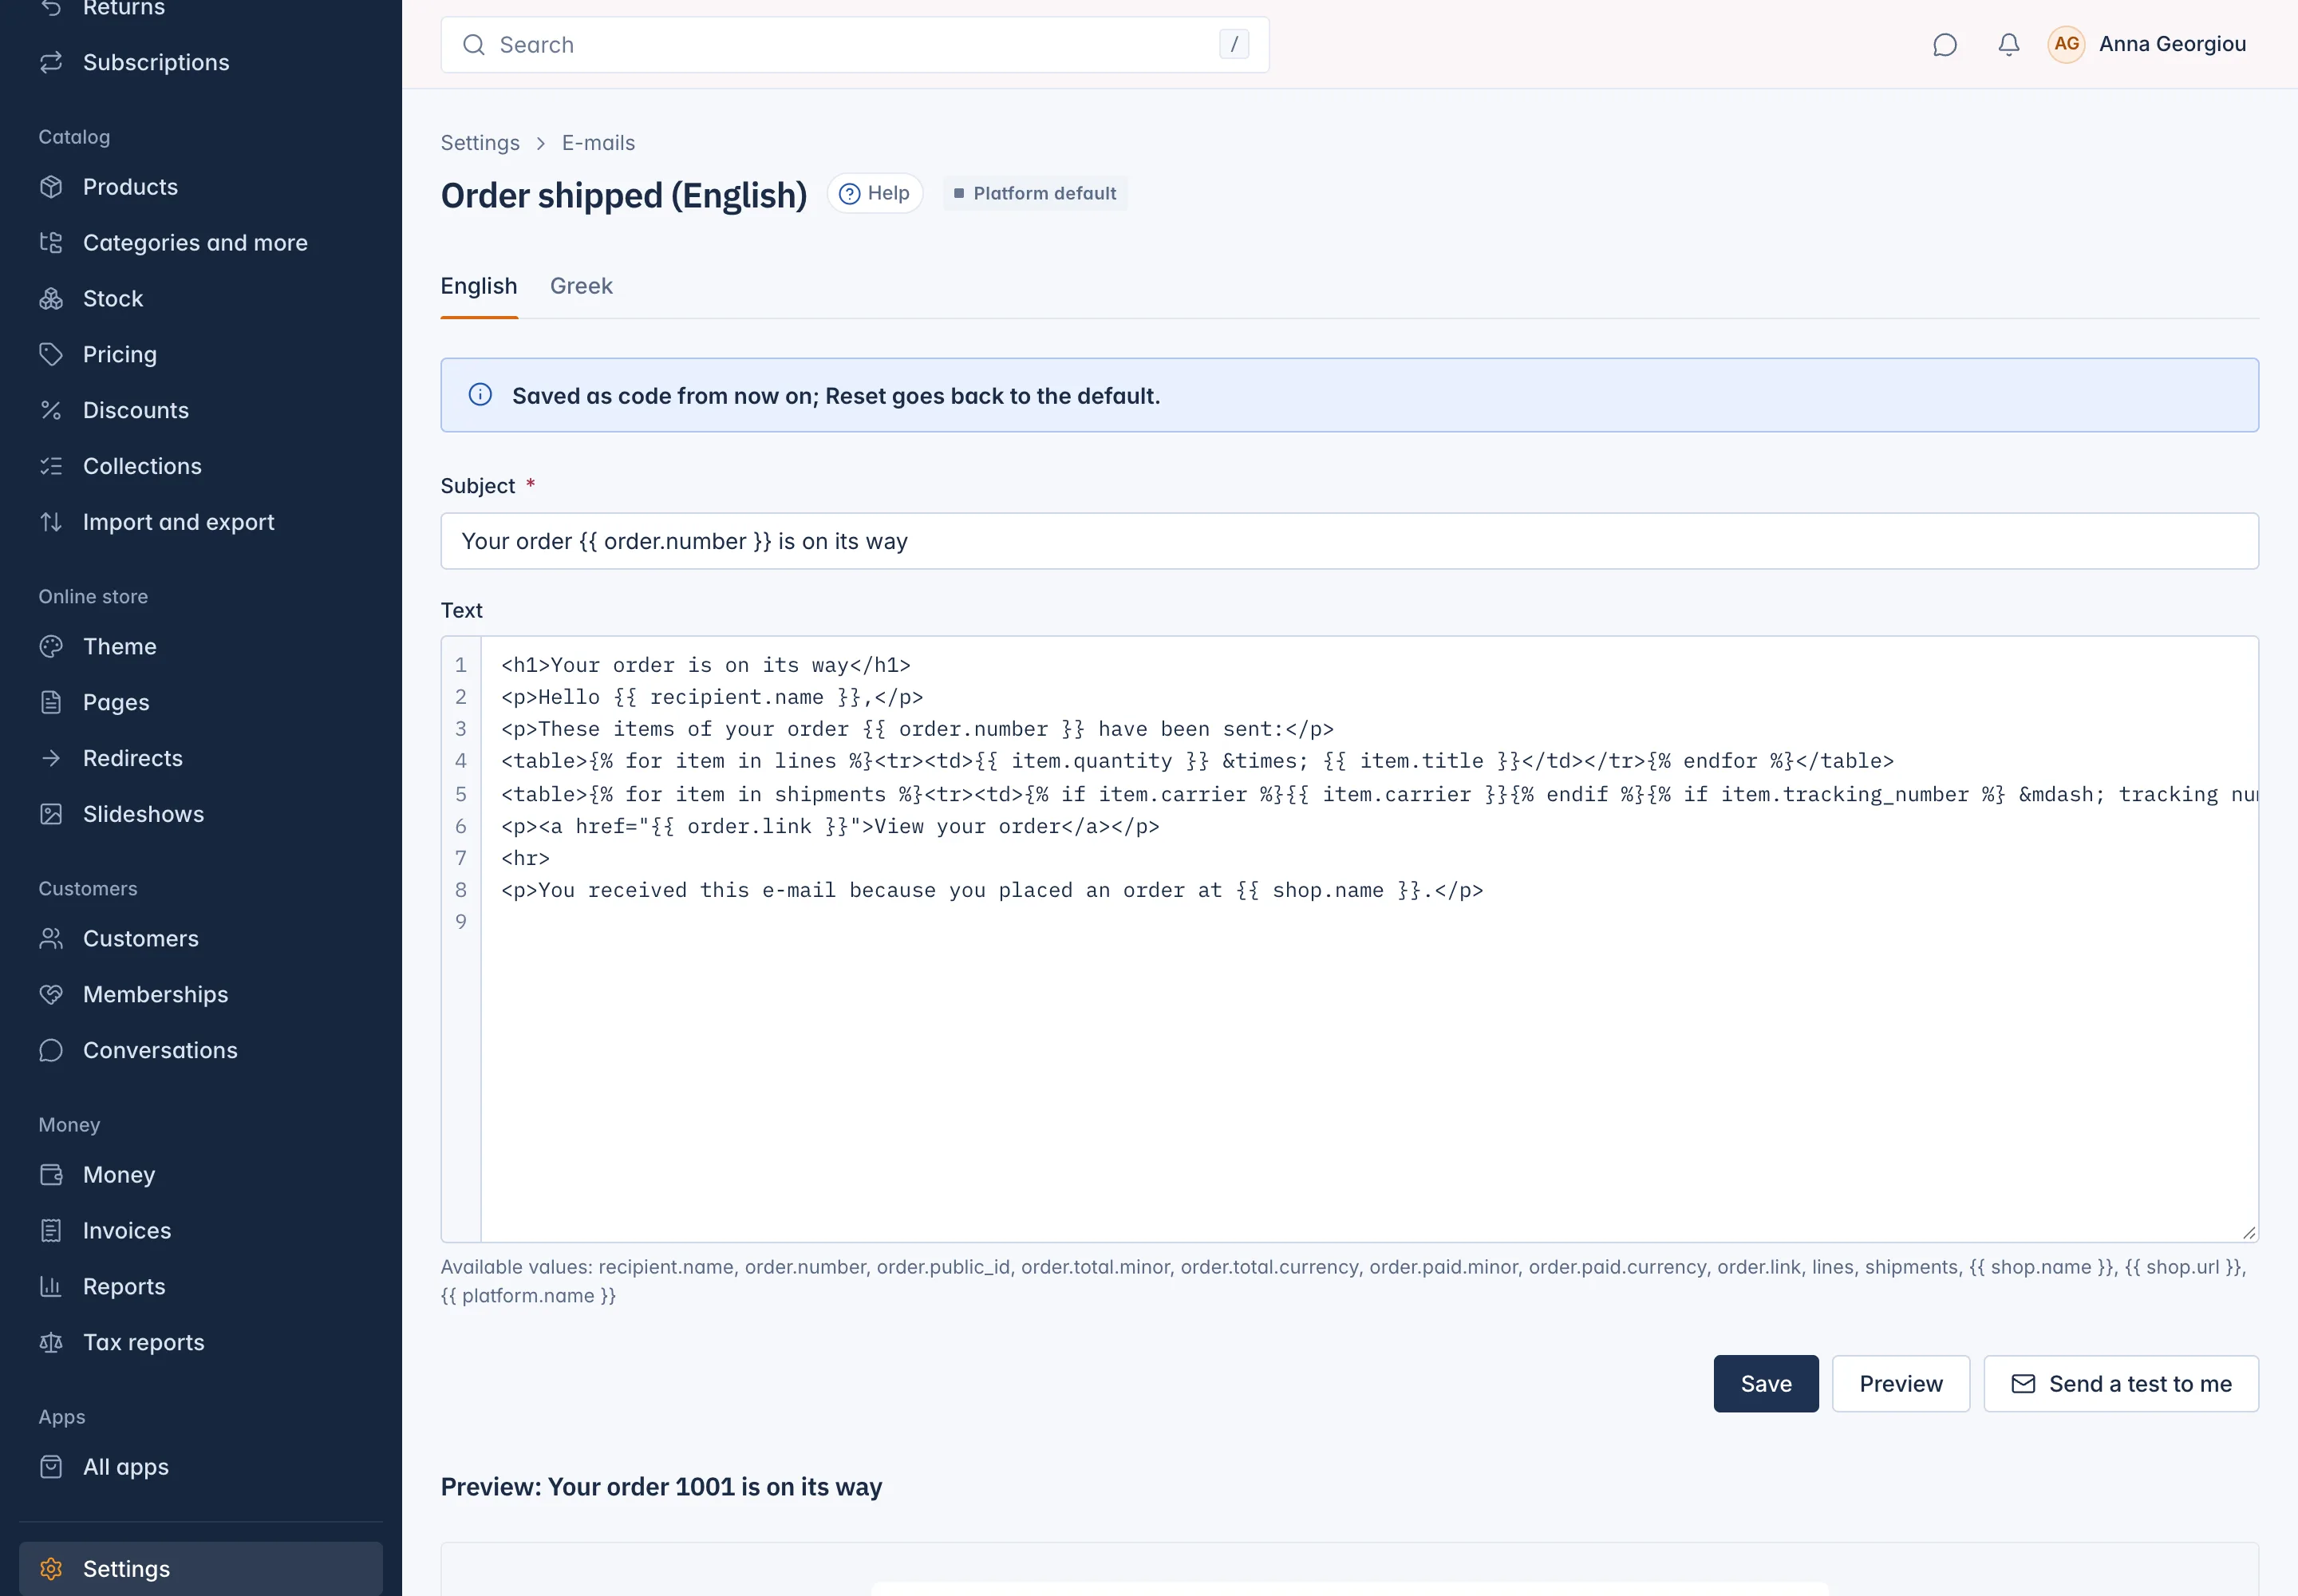
The badge next to the title shows Platform default while the IXXO Cart text is in use, and Customised once you saved your own. On the list, a customised e-mail shows Your own text beside Edit.
Values and simple logic in the text
The text is HTML with a few placeholders. Under the editor, Available values lists what this e-mail can use, for example {{ order.number }}, {{ recipient.name }} or {{ shop.name }}. Type a value between double curly brackets and the shop fills it in for each e-mail.
Some e-mails also use lists and conditions:
{% for item in lines %} ... {% endfor %}repeats a part for every order line.{% if item.tracking_number %} ... {% endif %}shows a part only when there is a value.
If something is wrong, the editor points to the line and says what to fix, for example A {{ or {% here is not closed.
Go back to the default text
Press Reset to default and confirm. Your own text in this language is removed, and the default e-mail is sent again. Other languages keep their own text.
Test e-mail limits
You can send three test e-mails every ten minutes. A test goes only to you. If the test cannot be sent, check your mail account.
Add your logo to every e-mail
At the bottom of the E-mails screen, the Logo in your e-mails card puts a logo at the top of every e-mail your shop sends. Without a logo, your e-mails show your shop name.
- Under Logo, choose a JPEG, PNG or WebP picture.
- Press Save the logo.
To take it away, tick Remove the logo and save. The logo counts towards your plan's storage.
Who can do what
- Seeing the e-mails needs See the e-mail templates; switching and editing them needs Edit the e-mail templates. Without it, Edit reads View and the text is read only.
- The logo needs Change the outgoing e-mail settings and send test e-mails.
- The E-mail log button at the top is for the shop's Owner only. See The e-mail log and reply-to address.
Related
Updated 13 November 2026